 A little tutorial for you...........
Most of my frames esp the fun vintagey/grungy ones....are set up to use the Magic Wand tool--(one of my faves)---to insert the images......
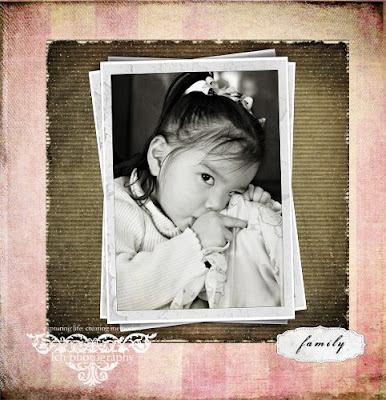
So, here's one of the pages from the New Cherished Collection Album and screenshots as to how to get the image in the frame or behind it as some say.....
(Click on the pics to make them bigger)
 1. Make sure the photo frame layer is highlighted in your layers palette.
2. Select the magic wand tool.
3. Make sure your tolerance is set to 20 or less. 20 is great for this frame.
4. With the Magic Wand tool--click the center blk part of the frame. This will select only the black part. IF it selects more--your tolerance is too high---(you'd need to lower the #)
6. Choose EDIT--COPY 8. Voila!!! Your image is IN THE FRAME!!! Now you may have to resize. 10. When it's how you want it......flatten and save or keep working on the template! ****After Step 5--you can resize your image--by going to IMAGE--RESIZE I usually resize it a tad bigger than the frame, b/c for quality, I'd rather make the image a tad smaller than larger if needed. Hope that helps!!!!!!!!! 5. Open your pic. Choose SELECT---ALL
 7. Go back to the template. Choose EDIT--PASTE INTO SELECTION
9. To resize: Click CTRL+T for the Free Transform Tool. While HOLDING DOWN THE SHIFT KEY AND ONLY PULLING FROM THE CORNER, resize. This will prevent distortion.


2 comments:
Thanks Leah!! I was going through all my literature the other trying to find this tutorial in your notings!! now its a permanent reference!! thanks!
Great tutorial Leah. You knw, it's strange, I know how to make templates with the magic wand, but never thought about using the magic wand with anything else. Love it and thanks.
Hugs,
Jonni
Post a Comment